Angular: Call a Parent method in Child Component using @Output
By Dillon Smart · · · 1 Comments

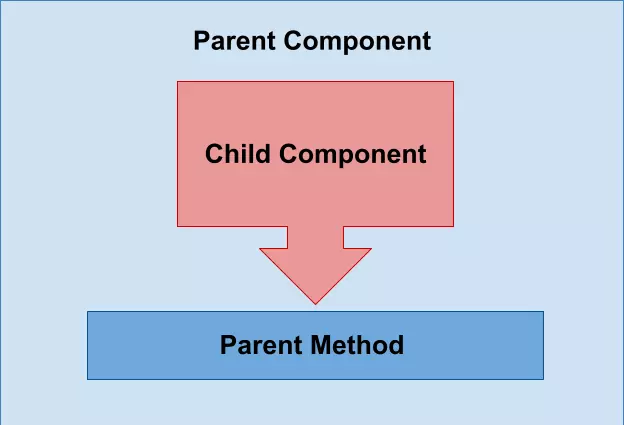
In JavaScript frameworks, such as Angular, it’s common for components to communicate with each other and send data back and forth. In this post, I will show you how to call a parent method from a child component in Angular with the @Output decorator using EventEmitters.
In all JavaScript frameworks, it’s common for child components to send information back to a parent components functions.
Usecase for calling a Parent method from a Child Component
A child component could need to call a parent component function to ask for updated information from an API, to send input values to the parent upon an event. In Angular, these methods are called EventEmitters.
What is an EventEmitter?
To call a parent component method from a child component, you need to use an Angular EventEmitter. Emitting events allows your components to communicate with one another when a certain action has been executed, in this example the action is on click.
To emit an event, we need to use the @Output decorator on the child component and register a handler for the event by subscribing to the instance on the parent component.
How to call a parent method from a child component

Child Component
In this example child component, we will call a parent component method which displays an alert when a button on the child component is clicked.
To get started, create a Child Component called “ChildComponent”.
The Child Component will need to extend the Parent Component “ParentComponent” class. This will allow the child to Emitt events to the Parent Component.
Use the @Output() decorator with the name of your event, in this case, I have called the event “alert”.
When the button in the template of the Child Component is clicked, the makeAlert() method is called.
This method then Emitts the event “alert”, to which the Parent Component will be subscribed to.
@Component({
   selector: 'child-component',
   template: `I’m a child component <button (click)="makeAlert()">Click Me</button>`
})

export class ChildComponent extends ParentComponent {
     @Output() alert: EventEmitter<string> = new EventEmitter();
     makeAlert(){
          this.alert.emit();
     }
}
Parent Component
In your parent components template, where the child component is included, add a handler that is named the same as the event which is being emitted by the Child Component.
In this case, we should be listening to the “alert” event.
When the event is emitted by the Child Component, the showAlert() method is called.
@Component({
   selector: 'parent-component',
   template: `
    <p>I’m a parent component</p>
    <child-component (alert)=”showAlert()”></child-component>
  `
})

export class ParentComponent {
     showAlert(){
          alert(“This has been triggered by the child component!”);
     }
}
Conclusion
You have now successfully called a parent component method from a child component using an EventEmitter in Angular.
Learn more about Decorators in Angular.
Did this help you? If you need any help, leave a comment below!
1 Comment
IKnowThatNow
[…] I have created a full post example of the usage of the @Output decorator. […]