How to setup a remote MySQL database connection in PHPStorm
By Dillon Smart · · · 0 Comments
PHPStorm is packed full of features designed to make the development process for PHP developers efficient and streamlined.
Although Jetbrains have a standalone product for interacting with databases, named DataGrip, PHPStrom ships with the Database Tools and SQL plugin. This tools is powerful, integrated directly within the IDE, and provides a convinient way to intract with your databases, both locally and remotely.
How to setup a local database connection in PHPStorm
- Open you project in PHPStorm
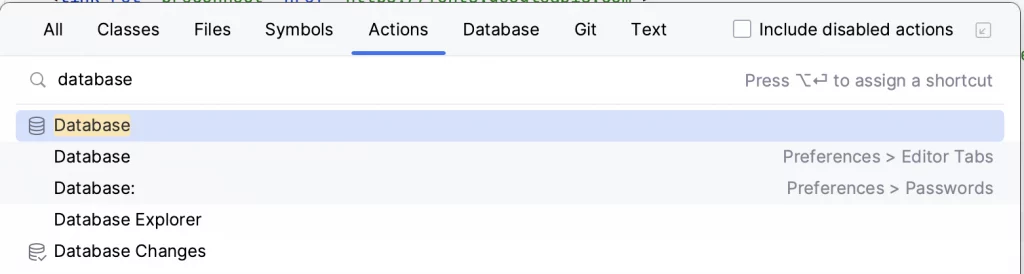
- Use the keyboard shortcut to open the Search Everywhere window (Double Shift)
- Select the Actions tab and type Database, and select the first result Database.
- The Database tool window will open. Select the plus icon “New“.

- Hover over “Data Source” and select the MySQL
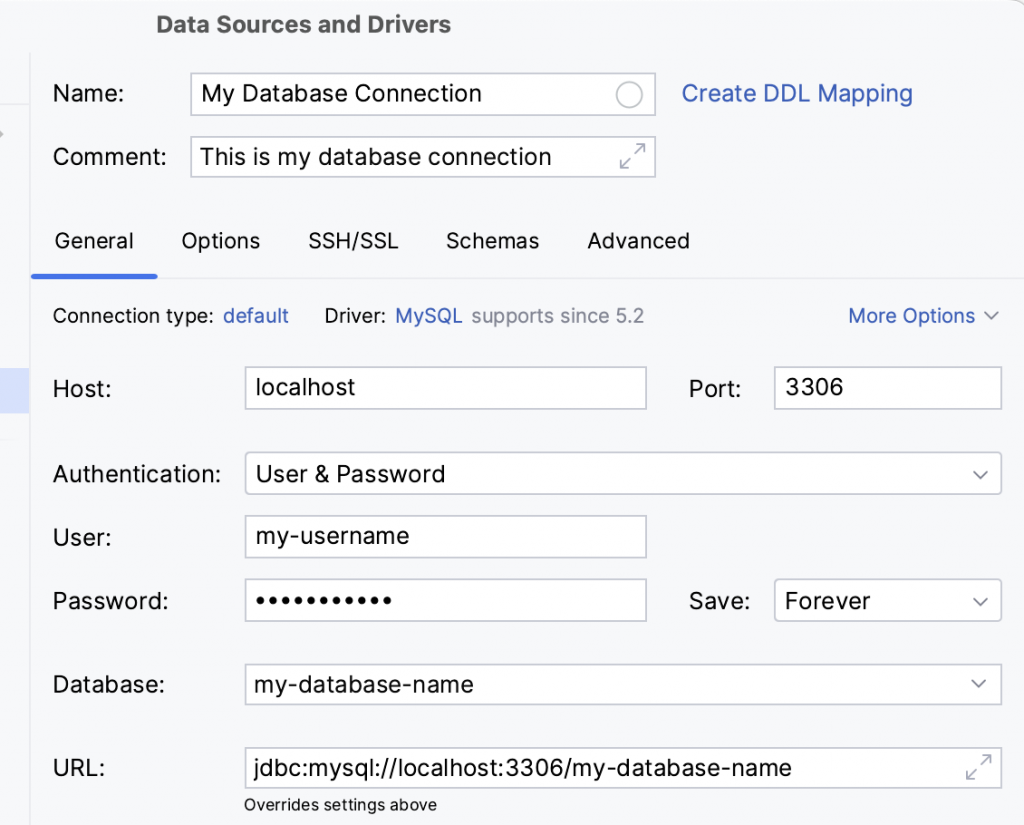
- The Datasources & Drivers window will open. Here you can add the details to connect to your MySQL database
- Enter the name of the database connection. Make this something useful so you can easily identify your database
- In the Host field enter “localhost”
- Select your authentication type, for this example we will select “Username & Password” and enter these details
- In the database field, enter the name of the database. As this is local, you may leave this blank if the details you provided have root access to MySQL. In this case, you will be able to access all local database from this single connection. See How to grant full privileges to a user in MySQL.
- You may see a Download Drivers option if you do not have the correct drivers downloaded to connect to the database. If this is the case, you will probably want to do this.
- Select Test Connection before selecting Apply to ensure your connection details are correct

- After following these steps, you will now have a new Data Source added to the Database tool window in PHPStorm
How to setup a remote database connection in PHPStorm over SSH
With PHPStorm, you are also able to create remote connections to databases. In this example, we will setup a remote database connection over SSH.
Following the same steps for setting up a local database connection, in the Datasources & Drivers window, we follow some additional steps.
- Select the SSH/SSL tab.
- Select Use SSH Tunnel
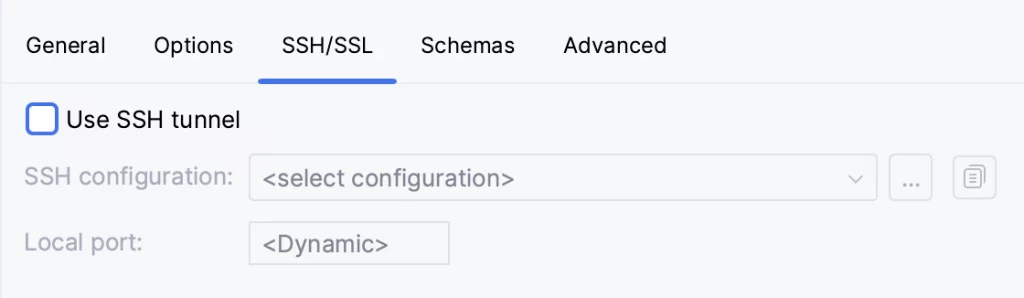
- Select the Three Dot Icon beside the dropdown field for SSH Configuration, this will open a new window
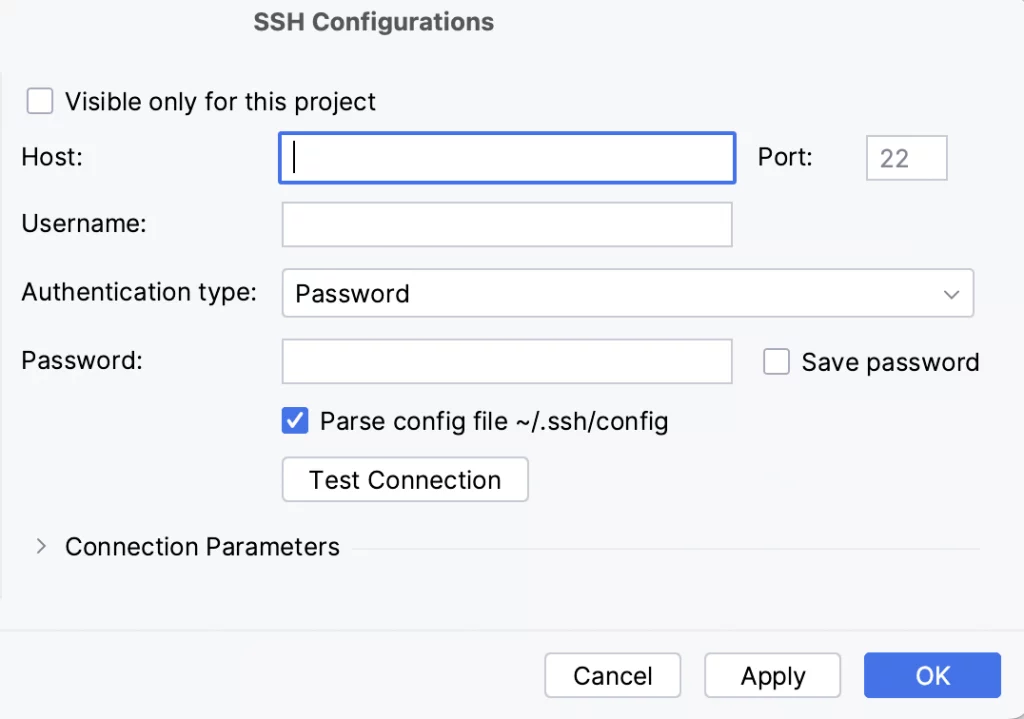
- Enter the IP Address or hostname for your remote server in the Host field.
- If you authenticate with Username and Password, then enter these details. If you authenticate with an SSH keypair, for Authentication Type select Key pair
- Enter the path to your SSH private key in the Private key file field. See How to generate an SSH key.
- You can use the Test Connection to ensure the connection works
- Select Apply. This will close the SSH Configuration window
- In the Data Sources & Drivers windon, select the dropdown for SSH Configuration and select the new configuration just created.
- You can use the Test Connection option to ensure your connection to the remote database works.
Conclusion
PHPStorm has many features to enable PHP Developers to perform their tasks in a convieniant and efficient way.
Having the ability to see your data stored in a database directly in your IDE, and execute SQL can be extremely useful.
0 Comment