Laravel 9: How to Add a New Column to an Existing Table in a Migration
By Dillon Smart · · · 0 Comments
Laravel has a number of features designed to make developing web applications easier and faster. Migrations in Laravel allows us to manage the structure of our databases. In this post, you will learn how to add a new column to an existing table in a migration.
Create a new migration file
First, we need to create a new table in our database. We will create a new migration file and run the migration.
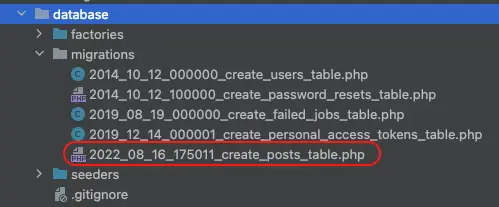
php artisan make:migration create_posts_tableRunning the make:migration command, Laravel will generate a new migration file which we can find under the database/migrations directory.
When Laravel creates and generates the code for the migration file, the name of the file matches the name we provide in the artisan command, prefixed with the current timestamp.
The timestamp in the migration file name is used by Laravel to determine the order the migration files should be executed in. If a migration attempts to add a new column to an existing table, but the create table migration hadn’t been executed yet, the migration will fail.
Laravel Migration naming conventions
To maintain clean code that can be easily understood by other developers, it’s advised to stick with naming conventions.
Like all languages and frameworks, Laravel has some naming conventions, as well as file naming conventions.
Here is a list of naming conventions for migration files, where tableName and columnName should be replaced:
Creating a new migration (creating a table)
php artisan make:migration create_tablename_tableAdding a new column to an existing table
php artisan make:migration add_columnName_to_tableName_tableUpdating an existing table column
php artisan make:migration update_columnName_on_tableName_tableRemove a column from a table
php artisan make:migration remove_columnName_from_tableName_tableDrop a table
php artisan make:migration drop_tableName_tableCreate the table using the Schema Builder
Locate the new posts table migration file in the database/migrations directory.
Within the up() method, add some columns to the table.
    public function up()
    {
        Schema::create('posts', function (Blueprint $table) {
            $table->id();
            $table->string('title');
            $table->text('content');
            $table->timestamps();
        });
    }
To create the table in the database we need to run the migration. Use the artisan migrate command like so:
php artisan migrateAdd a new column to an existing table
Here we will add a new column to the posts table, which now already exists in the database.
Following the naming conventions, we need to generate a new migration file where our code to add a new column to the table will be executed.
php artisan make:migration add_description_to_posts_table --table="posts"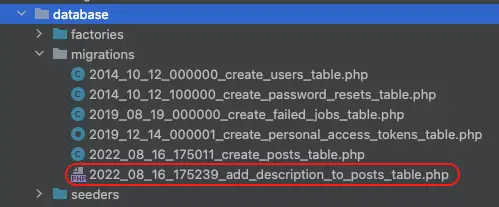
Notice the addition of the argument “table” in the command.
This will generate the Schema boilerplate in the up command for us for the table specified.
<?php

use Illuminate\Database\Migrations\Migration;
use Illuminate\Database\Schema\Blueprint;
use Illuminate\Support\Facades\Schema;

return new class extends Migration
{
    /**
     * Run the migrations.
     *
     * @return void
     */
    public function up()
    {
        Schema::table('posts', function (Blueprint $table) {
            //
        });
    }

    /**
     * Reverse the migrations.
     *
     * @return void
     */
    public function down()
    {
        Schema::table('posts', function (Blueprint $table) {
            //
        });
    }
};
Now we can add the new column to the table within the up() method.
    public function up()
    {
        Schema::table('posts', function (Blueprint $table) {
            $table->string('description')->nullable();
        });
    }
Finally, run the migrations again like so:
php artisan migrateConclusion
Laravel has made it easier for developers to create and manage databases and tables. Following these steps, we have created a new migration and added a new column to an existing table.
Next, learn how to use Laravel Factories to generate test data.
0 Comment