The Ultimate guide to create Apache2 Virtual Hosts (2022)
By Dillon Smart · · · 0 Comments

In this post, I will be creating Virtual Hosts for Apache2 on WSL2 (Windows Subsystem for Linux). Follow along with this Ultimate guide to create Apache2 Virtual Hosts. The steps in this tutorial can be carried over onto any environment running Apache2.
What we’ll cover
- Creating the directory structure
- Creating a symbolic link in Ubuntu on WSL
- Creating Apache2 Virtual Hosts
- Editing the Windows Hosts file
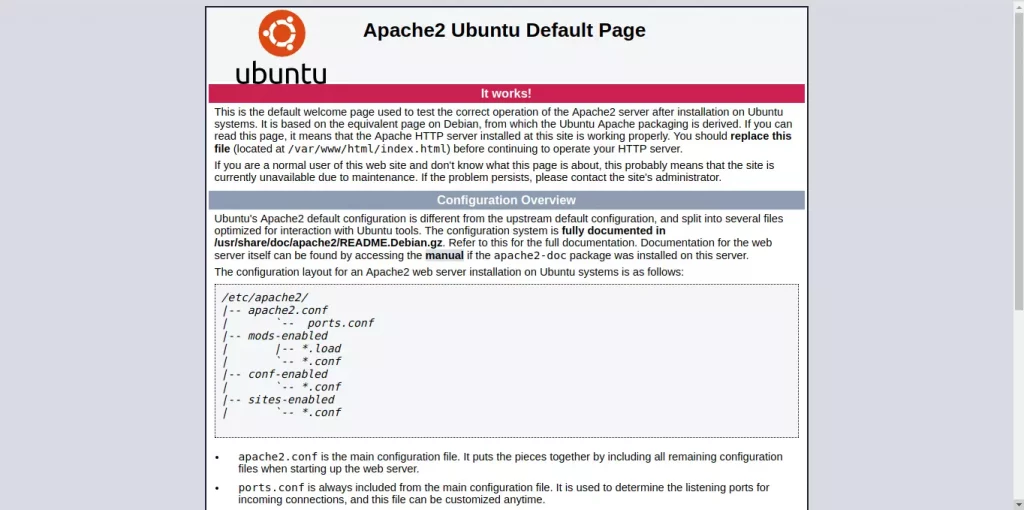
You will need to already have Apache2 installed and the service running. To know if the service is running, open localhost (127.0.0.1) in the browser. You should see a screen similar to this:

If you need help installing and setting up Apache2, take a look at:
“The ULTIMATE guide to setup Windows Subsystem for Linux (WSL) with Ubuntu, Apache2, MySQL, and PHP”.
If you are having trouble starting the Apache2 service on WSL2, I have created a post outlining ways to get the service started.
Create the directory structure
To get started we will need to create a new project folder. This is where we will put the files for our website. In this example, we will create a new directory in my documents folder called “projects” which will have separate folders for each website we create.
From the terminal, navigate to the mounted Windows file system and create the new directory.
cd /mnt/c/Users/{Your-User-Name}/Documents
mkdir projects
Next, create the website’s directory where the files for the website will be stored. It’s good practice to name all website directories the same as the domain name attached to them. The website we will be creating will be mywebsite.test, so the directory will be called mywebsite.
cd projects

mkdir mywebsite

cd mywebsite

nano index.html
Within the index file, let’s add the traditional “Hello World”.
<!DOCTYPE html>

<html>

<body>

<h1>Hello World</h1>

</body>

</html>
Create a symbolic link in Ubuntu on WSL
In Linux, Symbolic links are used to link files or directories to other files or directories.
From the /var/www/html directory, create a Symbolic link to the “mywebsite” directory in the projects folder on Windows.
/var/www/html is the directory where Apache2 stores its documents, by creating a symbolic link we can make changes to the files in Windows, and the changes are reflected on WSL.
sudo ln -s /mnt/c/Users/{Your-User-Name}/Documents/projects/mywebsite /var/www/html
Change directory and lists its contents, ensuring the website’s directory has been linked.
cd /var/www/html

ls
You should see the “mywebsite” directory.
Creating Apache2 Virtual Hosts
Apache2 uses Virtual Hosts to host multiple websites on the same server. Let’s create a virtual host so we can access the website in the browser when visiting mywebsite.test.
Navigate to the Apache2 sites-available directory, which is the directory where Apache2 stores Virtual Host configuration files.
cd /etc/apache2/sites-available
Next, create a new Virtual Host configuration file, we will use Nano so we can start editing the file right away.
nano mywebsite.test.conf
With the file open in the Nano text editor, copy the configuration below:
<VirtualHost *:80>
    ServerAdmin webmaster@mywebsite.test
    ServerName mywebsite.test
    ServerAlias www.mywebsite.test
    DocumentRoot /var/www/html/mywebsite

    ErrorLog ${Apache_LOG_DIR}/error.log
    CustomLog ${APACHE_LOG_DIR}/access.log

    <Directory /var/www/html/mywebsite>
        AllowOverride All
    </Directory>
</VirtualHost>
Save the file using Ctrl+O.
In the configuration above, we have created the domain mywebsite.test and pointed it to the directory where we created the symbolic link previously.
To enable the configuration, run the following command and restart the Apache2 service:
a2enmod mywebsite.test.conf

service apache2 restart
If you get an error when restarting the service, you may have made a mistake in the configuration file.
Editing the Windows Hosts file
Although the configuration is set up and the directories linked, Windows can’t yet access the website in the browser. To do this, we need to make a change to the Windows Hosts file as this is where the browser will be running from. To edit the hosts file, open C:\Windows\System32\Drivers\Etc\hosts in a text editor or notepad. You can also use nano from the terminal if you prefer.
The Windows Hosts file is used to override DNS and redirect URLs or IP addresses to different locations. In this case, we want to redirect the domain mywebsite.test to our local Apache2 webserver.
Finally, add the following lines to the bottom of the file.
127.0.0.1 mywebsite.test
or
::1 mywebsite.test
Once you have saved the file the website will be accessible via the web browser on Windows.
You repeat the process in this post to create more websites, all hosted on the same server.
Was this post helpful? Please leave a comment below, I’d really like to hear your feedback.
0 Comment